
Make elegant, delicate and sculptural furniture masterpieces with hairpin legs that are so easy to connect that almost anything flat can be turned into a table top! Here's how to DIY a metal hairpin table leg.
If you have an old wooden door, use it to create a DIY hairpin table.
Whether you're making a DIY hairpin table, TV stand, nightstand or something similar, hairpin legs have everything for your needs!
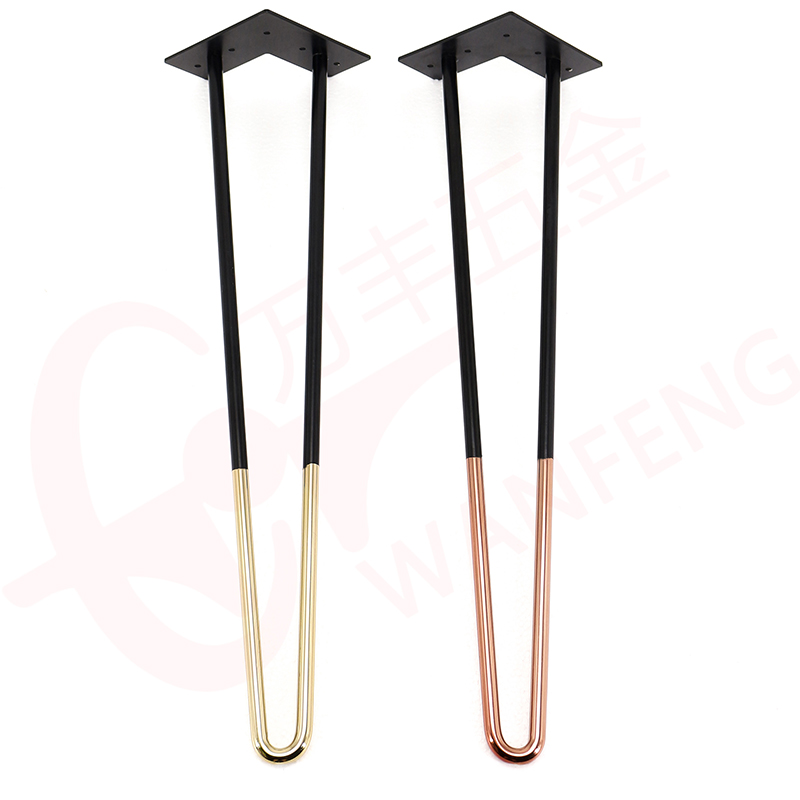
Better metal, better legs
Our hairpin legs are made of cold-rolled steel, which means they are drawn between forming rollers when lukewarm.
This means metal legs are cleaner and smoother than those made of hot-rolled steel.They do not have the scales and shells that hot rolled legs have, resulting in a more uniform surface.
We use mild steel in the hairpin leg because it makes the leg stronger.
The use of high carbon steel will make the weld brittle and may break.
Legs made of mild steel are more resistant to welding failures than those made of ordinary steel.
Choose skills
Obviously, height is a key driver in the choice of hairpin legs.
For DIY barrette stools or barrette coffee tables, you will use 16" barrette legs.For DIY barrette side tables, use 24" barrette legs;
For DIY hairpin tables and DIY hairpin desks, use 28 "hairpin legs.
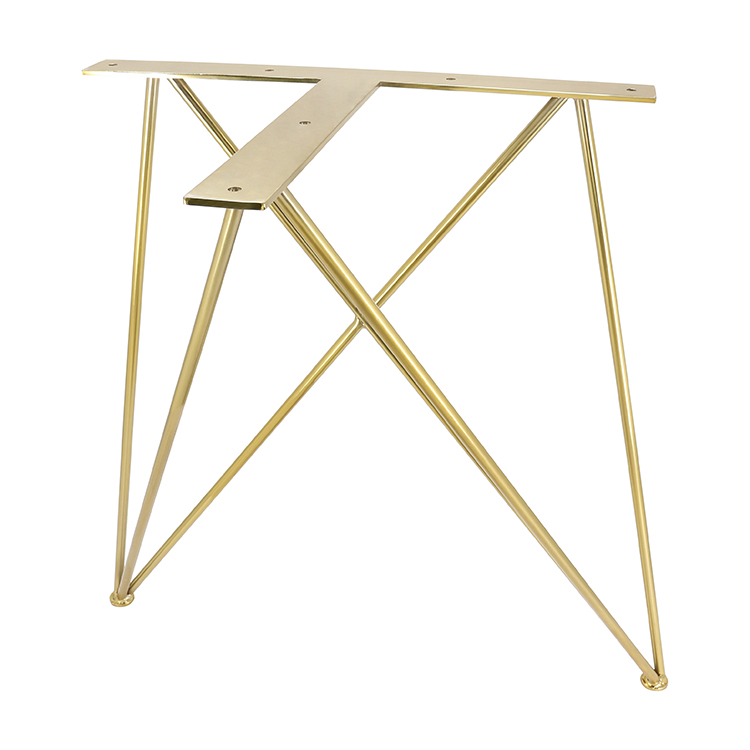
Two is better than three
For small tables and desks, the two 28" barrettes look and work fine.
For larger tables and thicker tops, you will need to consider three-bar hairpins.The third rod stiffens the legs and eliminates any "wobbles" and looks great with a thicker top too!
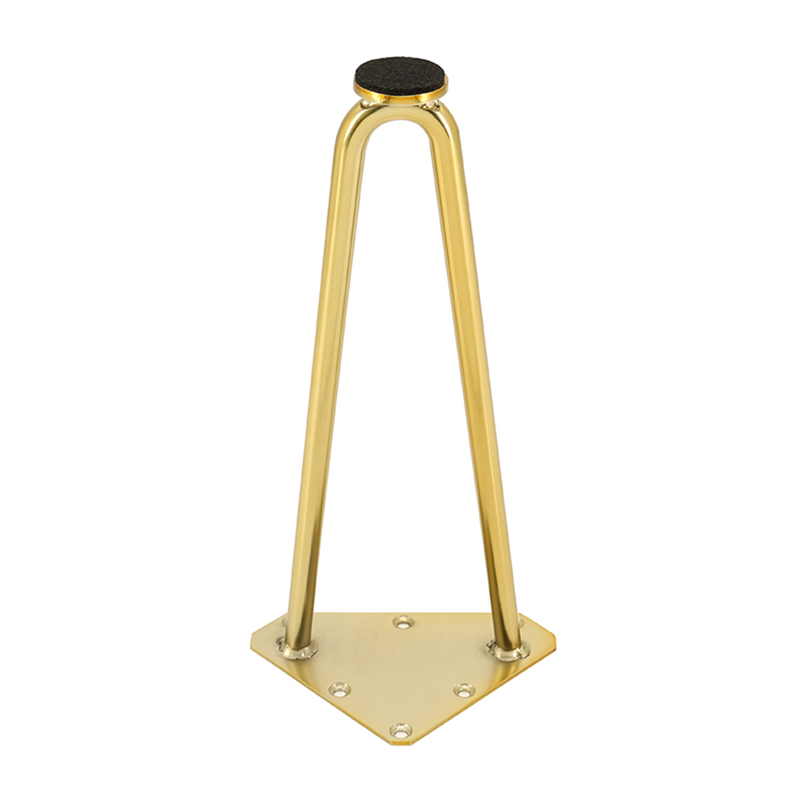
The leg finished product
Hairpin legs are made of steel and can rust and stain clothes and carpets.
That's why our hairpin legs are sold in practical powder coated finishes or even luxurious gold-plated finishes.They are more rust resistant than uncoated raw steel legs.
At the top of the support
Traditional tables use plates that connect the legs and form a base to prevent the top from sagging.However, hairpin tables do not have splints.Instead, the hairpin legs are attached directly to the bottom of the table.Design your own writing desk or desktop.Because there are no splints, consider adding wood splints to the hairpin legs to keep the table flat and supported.
Fix the metal legs under the table
Hairpin legs are easy to install.
Make mounting screws for table top at least ¾".
If your desktop is at least ¾" thick, the screws we send you will not protrude from the finished desktop surface.
Screws are square drive screws used for forward grip.
The screws are self-tapping screws, so there is no need to pre-drill if you are using an electric drive.
If you use a manual screwdriver, drill a guide hole first.
If your top is ¾" thick or thinner, you will need some shorter screws. install Metal hairpin legs
Hairpin legs are easy to install and remove.
This is done while your desktop is upside down.
Simply place one leg at a time in the corner of the table, about 2 ½ inches from the edge.
First, use 2 screws to temporarily secure each leg.
Use your own aesthetic judgment to reposition the leg as you see fit.
When you have the right look, complete the outrigger with the remaining screws.
Searches related to furniture legs sofa:
Post time: Feb-17-2022


